there's needlefelting, crochet, knitting, sewing, weaving embroidery and bookbinding and more...

a blog about art, photography, quilting, wood carving, autism, mandalas, needle-felting and finding the small magic in life...
Showing posts with label DIY. Show all posts
Showing posts with label DIY. Show all posts
Saturday, November 21, 2015
still spending too much time shopping on etsy
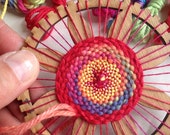
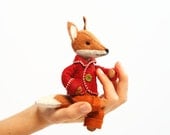
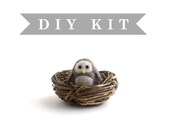
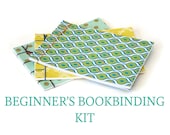
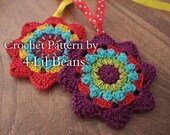
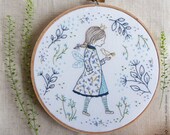
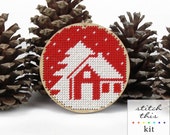
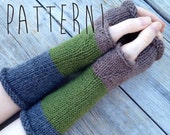
If you need a gift for someone who is crafty, here's some great kits or patterns from etsy.
there's needlefelting, crochet, knitting, sewing, weaving embroidery and bookbinding and more...
there's needlefelting, crochet, knitting, sewing, weaving embroidery and bookbinding and more...
Handmadeology






Friday, September 25, 2015
happy accidents: a tiny pouch with my new fabric
This week I was excited to get the fabric from Spoonflower that I had created from my watercolor paintings in my sketchbook.
I love the few pieces I had printed....


And you can also order a sampler yard with up to 15 (I think it is) different swatches of your fabrics, to test out the designs. They advise that this is a good thing and they are soooooo correct...
because I didn't pay enough attention to sizing! .....
I had used this cropped piece of a page in my sketchbook....

and in photoshop I cut and pasted just the purple flower to a blank canvas and uploaded it to Spoonflower.... Using their simple repeat I ended up with this fabric...
(or so I thought)

BUT...
What looked small on the screen when the size is set at a yard,
is
huge when you print it out and actually have a yard in front of you.
They have a handy dandy little tape measure
at the top of the screen to use as you create but I didn't look at it I guess....
I was just winging it
apparently....
So, this is the 8x8 swatch I received...

One giant purple flower! but....
I liked it too and decided to create a little pouch with it...
I liked it too and decided to create a little pouch with it...
I traced around a plate and cut it out along with another blank piece of fabric for the lining.


I also oversized this green fabric so I cut that square out and cut it into 4 equal squares.

Then I folded each green square in half then folded the corners in to get points which I pinned to the front side of the flower circle.


Then I layed the 2nd piece of fabric on top and sewed around the outside edge with a 1/2 or so seam allowance, leaving an inch open to turn. I turned it right side out and sewed in green about a 1/2 around the outside edge, then again about 1/4 inch from the edge, leaving a 1/2 opening big enough to slide a small safety pin in. This created a channel for my cord.

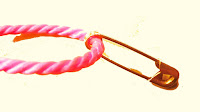
I tied my cord to a safety pin and fed it through, then cut another cord less than an arm's length and fed it through from the opposite side. I had to snip the green thread to create an opening on that side as I hadn't really planned it out. so, I ended up with a drawstring pouch big enough for a handful of magic beans or a few special rocks.
The fabric i used is a little stiff for this project, if I had planned to make this I would have ordered my swatch in a thinner, softer fabric like their crepe de chine.
But I am still happy with it!


I tied my cord to a safety pin and fed it through, then cut another cord less than an arm's length and fed it through from the opposite side. I had to snip the green thread to create an opening on that side as I hadn't really planned it out. so, I ended up with a drawstring pouch big enough for a handful of magic beans or a few special rocks.
The fabric i used is a little stiff for this project, if I had planned to make this I would have ordered my swatch in a thinner, softer fabric like their crepe de chine.
But I am still happy with it!


Friday, August 28, 2015
Mandala on a T-shirt
I wanted to try to use up some fabric paint and see how this would work on a shirt....so I cut some shapes from craft foam and glued them to pill jars for stamps....


Friday, February 13, 2015
2 little valentines books for my daughters
There are a million tutorials out there for making little books.... But I will still show you what I did. I cut 3 papers that were 1" x 2". Then I cut a piece of card stock about a 1/2" larger and scored a strip down the middle.


 Then I rounded the edges with a punch stamp. And I painted a heart on the front and sewed on a sequin star.


 I glued the marbled paper I made months ago to the back of the card stock...
 Then I glued in family photos, and added the words " always remember, you are loved by so many."


And the last thing was to sew the 3 folded pages into the spine of the painted cardstock, and cover those threads with a thin strip of duct tape on the outside spine. Done.
There is just something so special about a tiny book!
Happy valentines day!
There is just something so special about a tiny book!
Happy valentines day!
Monday, February 2, 2015
an imperfect planner cover
a wanted to make a cover for my boring work planner...
I had a bright colorful painted canvas cover in mind but then i went in search of fabric and found this dyed fabric. I don't even remember what it was dyed with besides tea, but I changed my mind on the sort of cover I planned to make. I found some old scraps and some vintage pieces and set to start.
Warning: If you are into perfect measurements and straight seams you may want to look away. I don't seem to find that kind of thing too important.....
1. I don't usually have time or the patience for measuring so i just cut 2 pieces of my dyed fabric about an inch larger than my open planner...
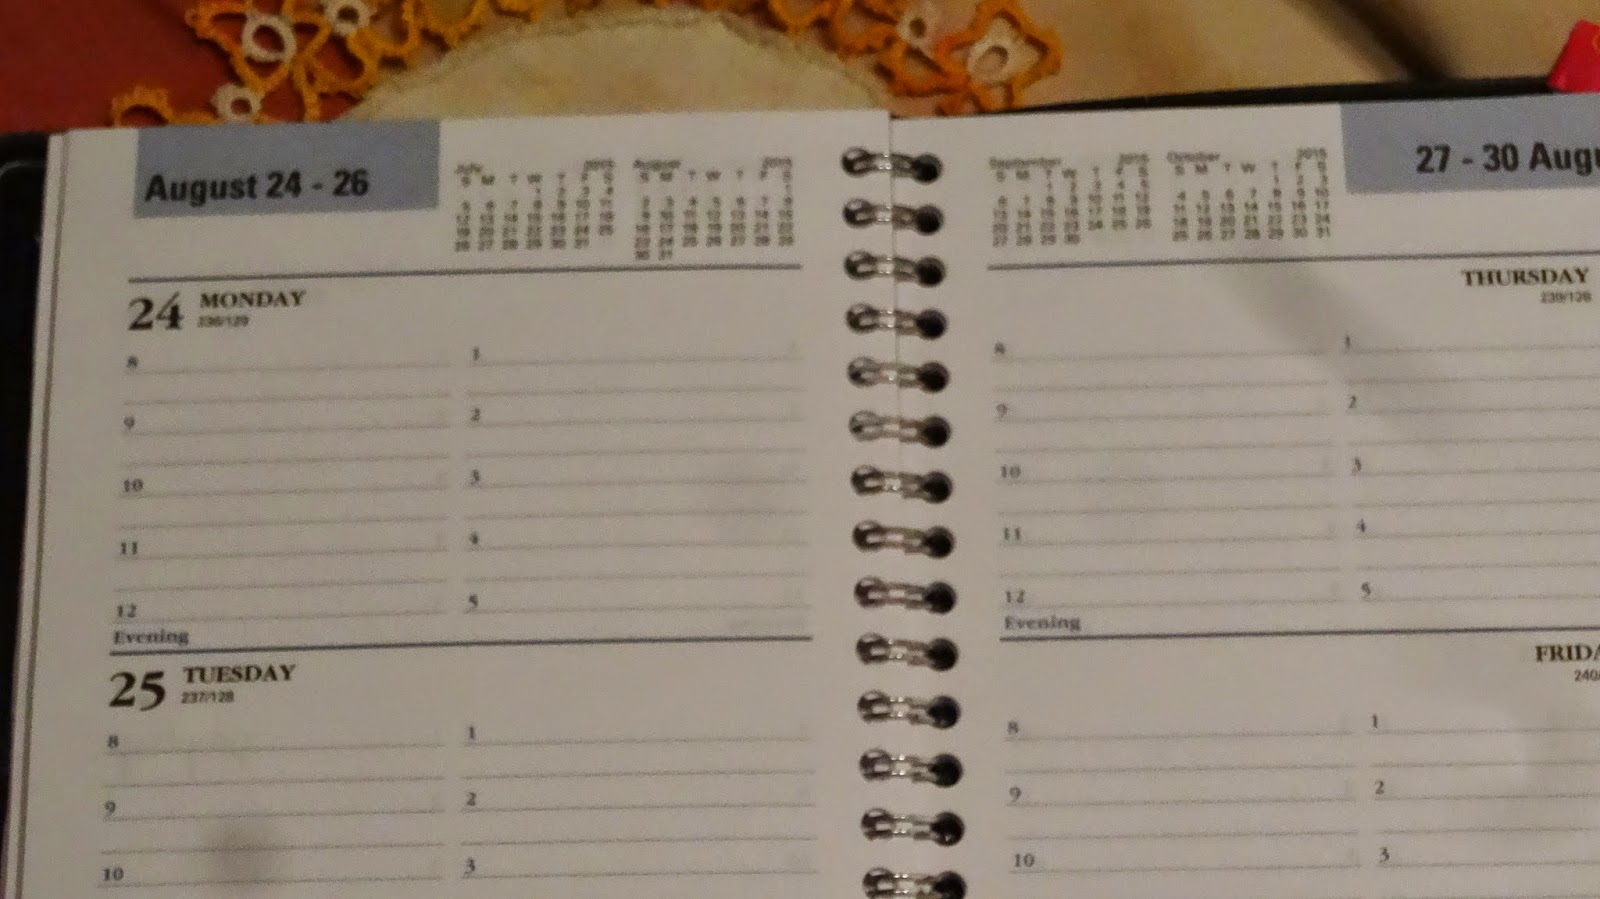

 2. I layered them with a piece of batting between...

 3. I cut two shorter pieces of a different fabric for the inside flaps, the same height just less than half as long. I folded those under twice and thumb pressed them before sewing the edge.


 4. I zigzagged stitched three sides down of a scrap of corduroy for a back pocket after turning that under as well.

 5. To decorate the cover i cut a small circle and made a yo-yo from it...


 6. Then i layered that with the vintage circles and sewed around them to the dyed fabric and the batting.

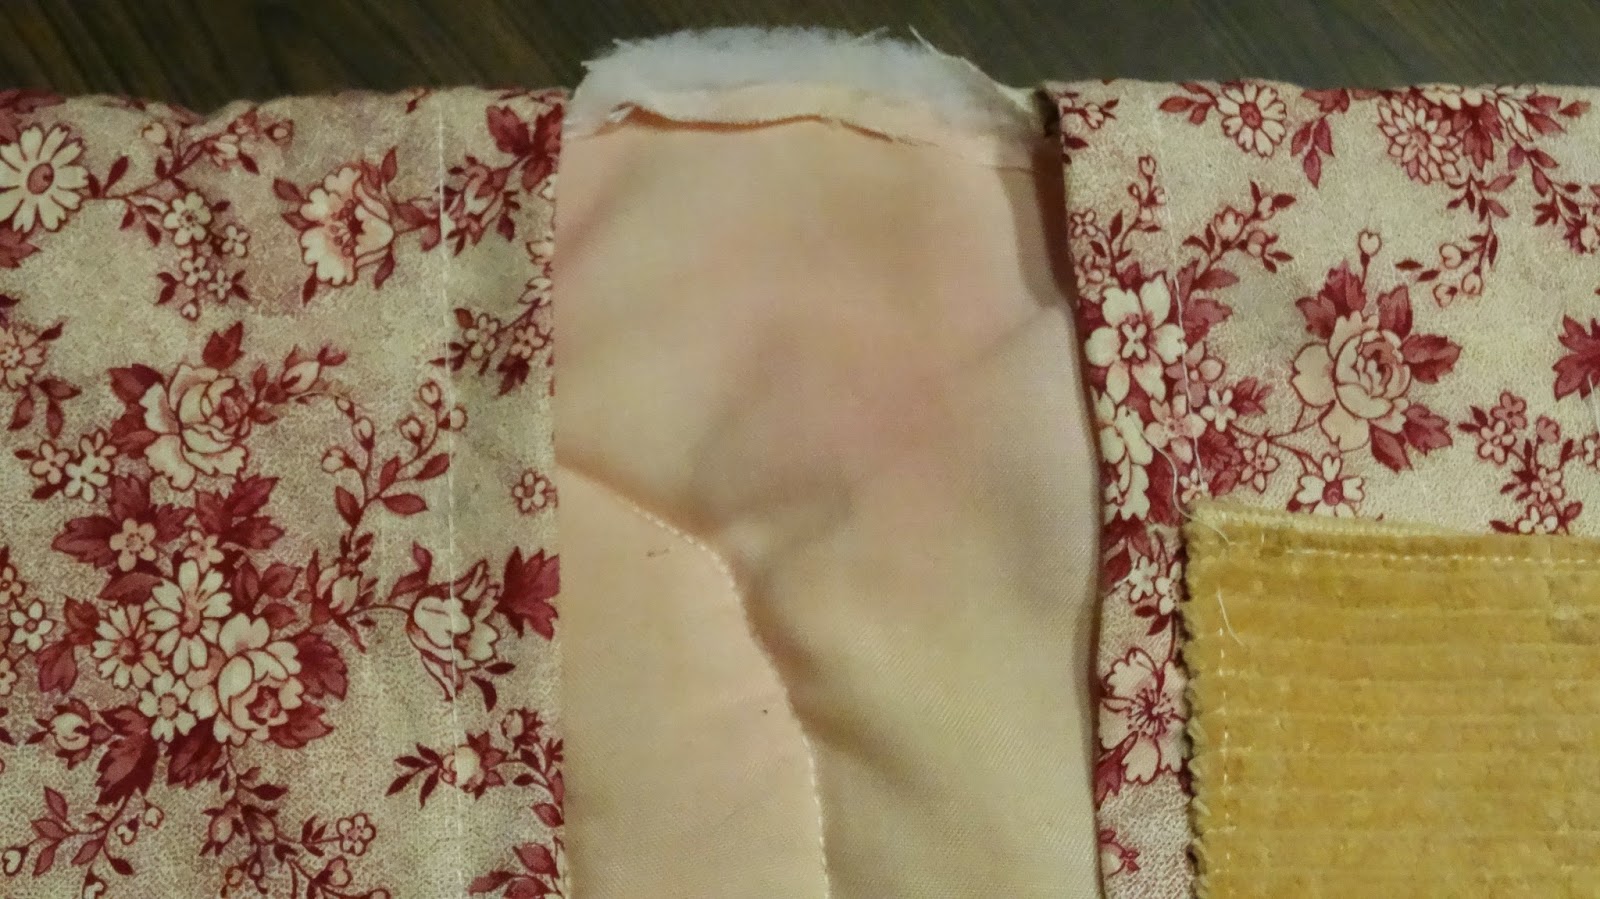
 7. Then I sewed the inside lining pieces to the batting sandwhich, along the left and right edges first, rights sides together...


 8. I cut away the excess batting along the seams...

 9. After checking for fit I trimmed and sewed the top and bottom edges as well.

 9. I trimmed the corners and turned it right side out.
 10. To hold down the center top and bottom strip where the binding of the book would be, I sewed just a small strip about a quarter of an inch away from the edge.

 11. Last I slipped the book in and sewed a big vintage button to the top and a tiny ribbon the the back edge for a closure....


I am pleased with the end result but i think it needs some messy embroidery around the circles. If i get to it I will show you when that is done....
I had a bright colorful painted canvas cover in mind but then i went in search of fabric and found this dyed fabric. I don't even remember what it was dyed with besides tea, but I changed my mind on the sort of cover I planned to make. I found some old scraps and some vintage pieces and set to start.
Warning: If you are into perfect measurements and straight seams you may want to look away. I don't seem to find that kind of thing too important.....
1. I don't usually have time or the patience for measuring so i just cut 2 pieces of my dyed fabric about an inch larger than my open planner...
I am pleased with the end result but i think it needs some messy embroidery around the circles. If i get to it I will show you when that is done....
Subscribe to:
Posts (Atom)