Saturday, February 14, 2015

A shadow box of sorts

I have been taking the online classes in soul food at community thrive put out by so many really creative artists.

http://communitythrive.com

The latest one, a shadow box with a paper bird in it made me want to create a  shadow box of my own. I have also been pinning shadow boxes like crazy lately in Pinterest. So, I wanted to do it right now, and not wait for the perfect supplies.  And since I have been thinking paper boats lately, it seemed right to do one of my girls in a paper boat.
It is in a deep frame, not really a box but in one of the photos you can see there are layers raised a bit. I painted the frame with watered down acrylic and just started. I like her. I could have spent a lot more time but I think the quickness makes it simpler and therefore sweeter.


Friday, February 13, 2015

2 little valentines books for my daughters

There are a million tutorials out there for making little books.... But I will still show you what I did. I cut 3 papers that were 1" x 2". Then I cut a piece of card stock about a 1/2" larger and scored a strip down the middle.


 Then I rounded the edges with a punch stamp. And I painted a heart on the front and sewed on a sequin star.


 I glued the marbled paper I made months ago to the back of the card stock...
Then I glued in family photos, and added the words " always remember, you are loved by so many."


And the last thing was to sew the 3 folded pages into the spine of the painted cardstock, and cover those threads with a thin strip of duct tape on the outside spine. Done.

There is just something so special about a tiny book!
Happy valentines day!

Friday, February 6, 2015

Painting lines

I made this painting awhile ago, and never posted it. It may seem familiar to some of you who come here regularly, but that would be because it is very like one i did a few years ago. I like to paint flowing lines, i like to paint hair, so i did a second one with stuff caught in a girl's hair. The first one had coi fish and a crow in her hair, and you can see it on my etsy...

This one just needed carrots and mushrooms. 

If you are saying "Why?", well i can't answer that. It's just what was needed at the time. I am posting it now because i may have to do another one soon as i have been sketching long flowing hair with goldfish in it on scrap paper lately. Will show you those soon probably. Anyway... Her she is.
 Her name is Cameron M. Markindock, from an island across the sea...


Monday, February 2, 2015

an imperfect planner cover

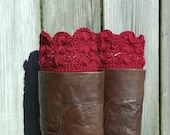
a wanted to make a cover for my boring work planner...

I had a bright colorful painted canvas cover in mind but then i went in search of fabric and found this dyed fabric. I don't even remember what it was dyed with besides tea, but I changed my mind on the sort of cover I planned to make. I found some old scraps and some vintage pieces and set to start.
Warning: If you are into perfect measurements and straight seams you may want to look away. I don't seem to find that kind of thing too important.....

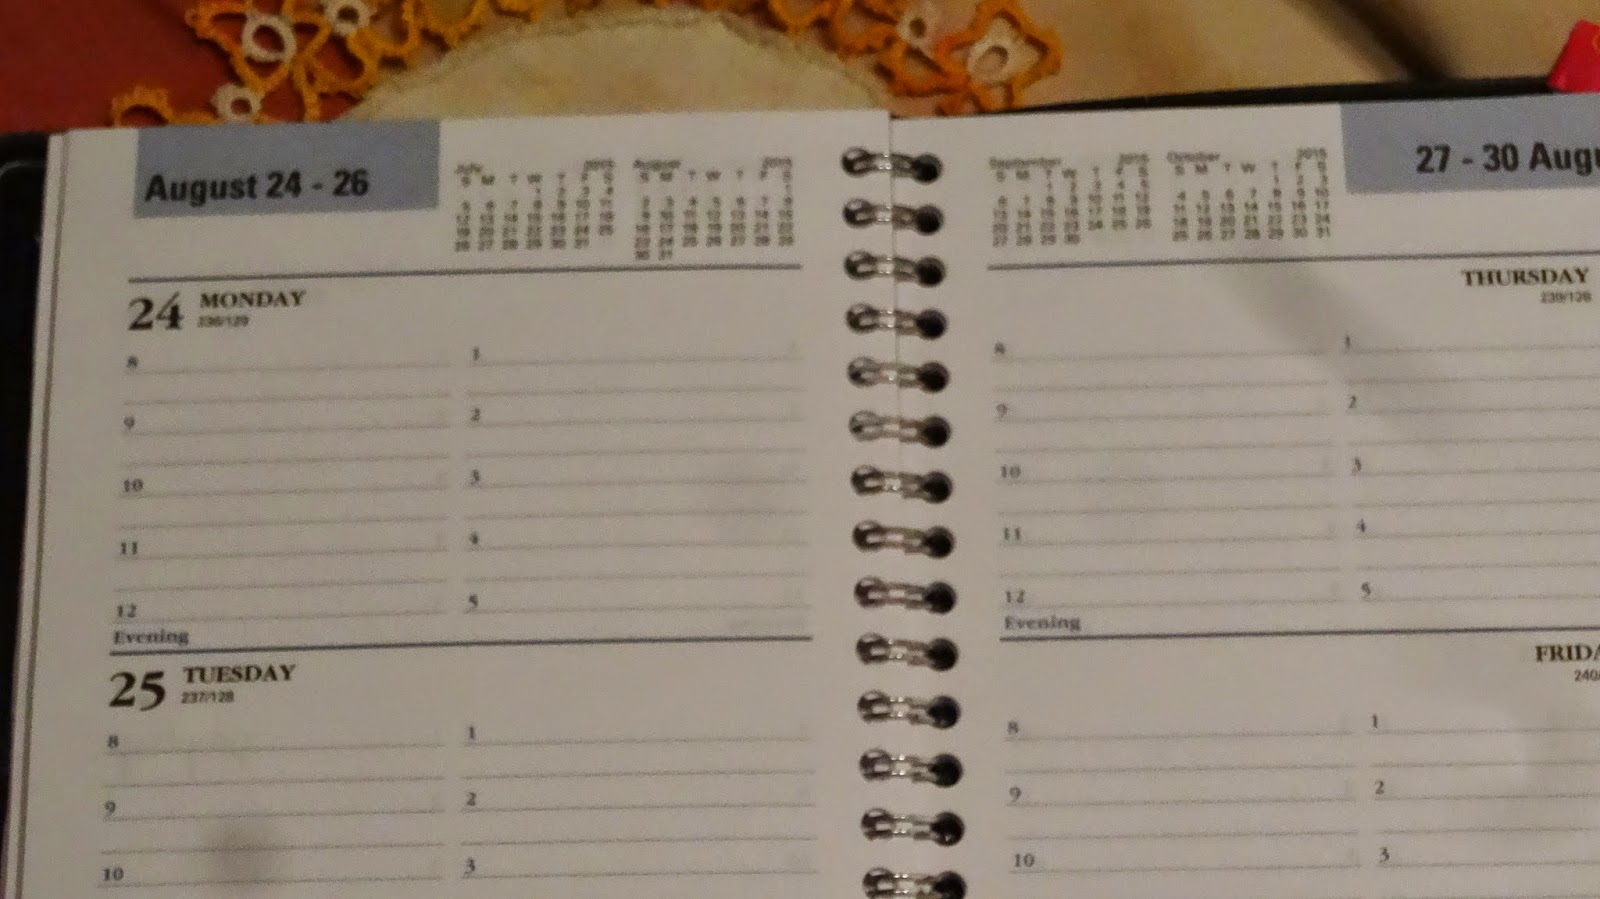
1. I don't usually have time or the patience for measuring so i just cut 2 pieces of my dyed fabric about an inch larger than my open planner...


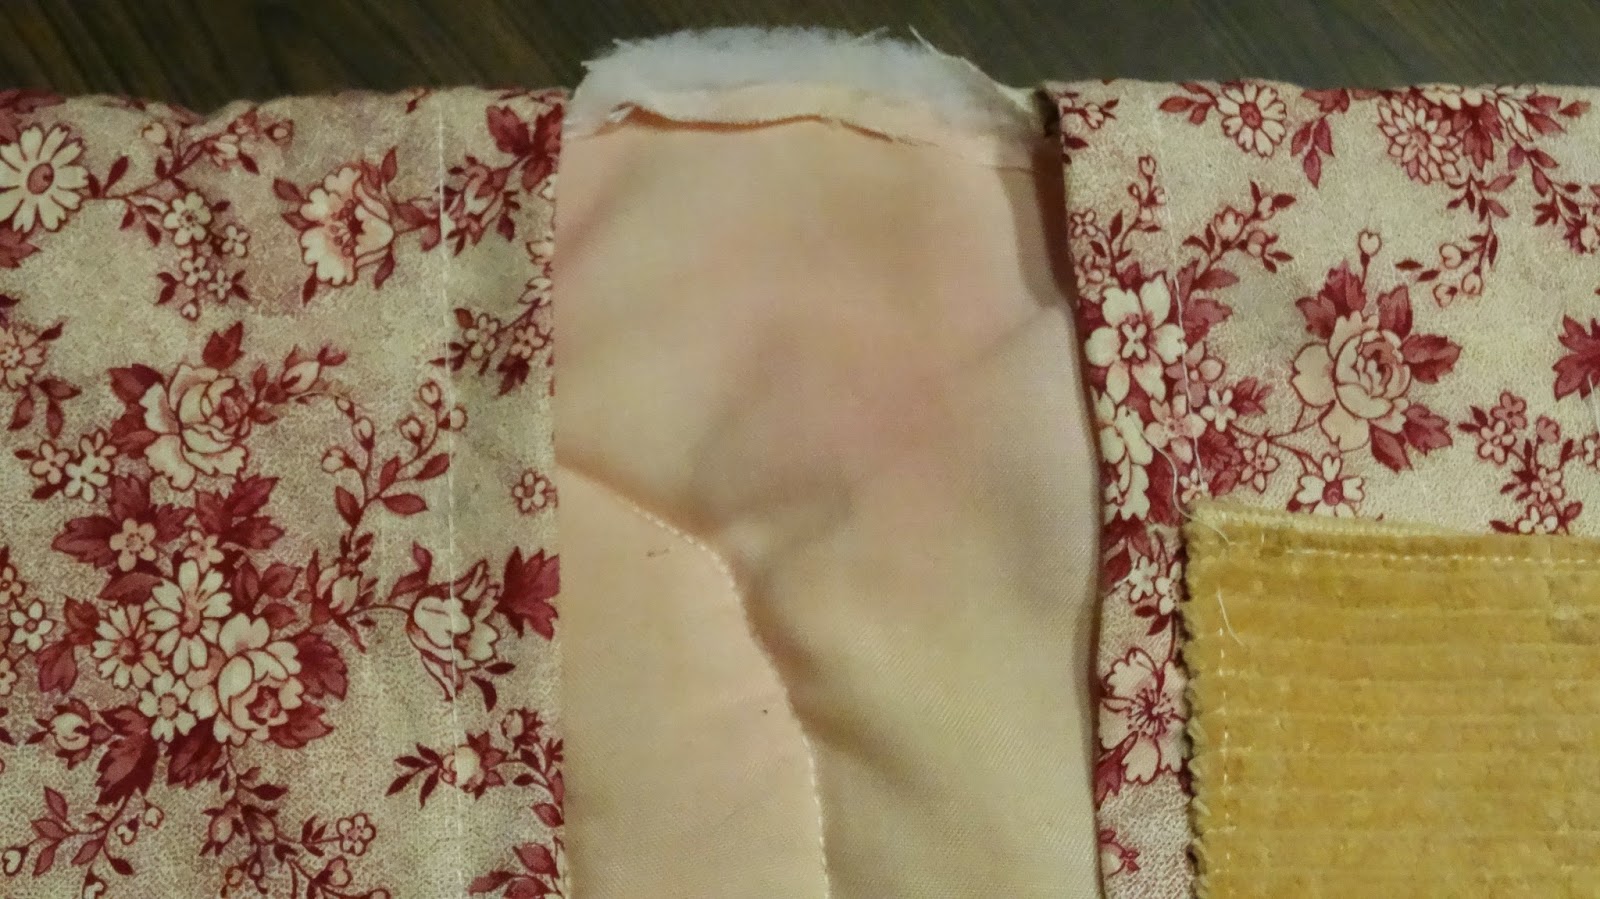
 2. I layered them with a piece of batting between...


 3. I cut two shorter pieces of a different fabric for the inside flaps, the same height just less than half as long. I folded those under twice and thumb pressed them before sewing the edge.


 4. I zigzagged stitched three sides down  of a scrap of corduroy for a back pocket after turning that under as well.

 5. To decorate the cover i cut a small circle and made a yo-yo from it...


 6. Then i layered that with the vintage circles and sewed around them to the dyed fabric and the batting.

 7. Then I sewed the inside lining pieces to the batting sandwhich, along the left and right edges first, rights sides together...


 8. I cut away the excess batting along the seams...


 9. After checking for fit I trimmed and sewed the top and bottom edges as well.


 9. I trimmed the corners and turned it right side out.

 10. To hold down the center top and bottom strip where the binding  of the book would be, I sewed just a small strip about a quarter of an inch away from the edge.


 11. Last I slipped the book in and sewed a big vintage button to the top and a tiny ribbon the the back edge for a closure....


I am pleased with the end result but i think it needs some messy embroidery around the circles. If i get to it I will show you when that is done....